
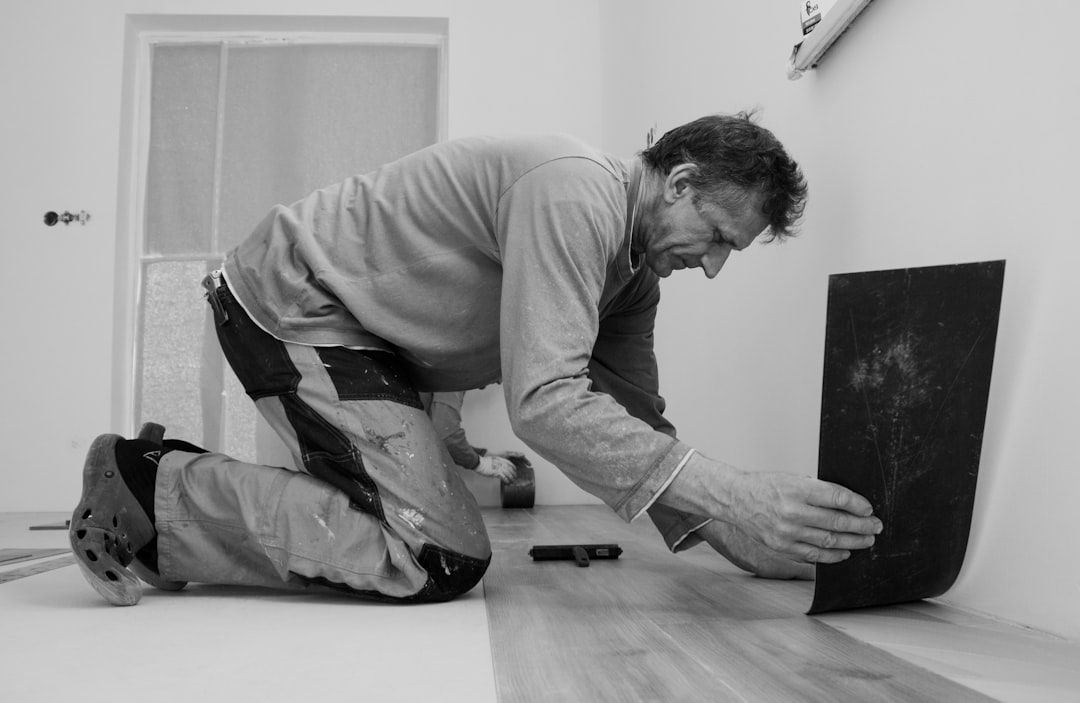
Floor screeding is one of those renovation steps most homeowners never see, yet it quietly determines whether your finished floor is level, sound underfoot, and free of hollow tiles a year later. If you are laying new tiles, vinyl, or timber over a concrete slab, the screed is the layer that makes that finish possible. Getting it wrong leads to lippage, cracking, and tiles that “pop” off the substrate.
This guide explains what floor screeding involves in a Singapore context, when it is needed, how thick it should be, how long it takes to dry, and the practical pitfalls that cause disputes between homeowners and contractors.
What floor screeding actually is
A screed is a thin, sand-and-cement layer applied over a structural concrete slab to create a smooth, level surface ready to receive a floor finish. The slab itself is poured by the developer or builder and is rarely flat enough or at the right level for a finished floor. The screed corrects falls, raises the floor to the planned level, and gives tiles or planks a consistent bed to sit on.
A traditional sand-cement screed is mixed at roughly one part cement to three or four parts sand, laid semi-dry, compacted, and trowelled level. It is not the same as the structural slab and carries no significant load on its own — it is a finishing layer. Because it is a cement-based product, it shares the same basic behaviour as other cement work; if you want the background on the binder itself, our explainer on reinforced concrete covers how cement gains strength over time.
When you need screeding in a renovation
You usually need screeding in a few common situations. The first is when the existing finish has been hacked off down to the slab and the slab surface is uneven or below the target floor level. The second is when wet areas such as bathrooms and kitchen yards need a defined fall toward floor traps so water drains rather than ponds. The third is when you are changing finishes — say from tile to vinyl — and need to bring different rooms to a single, consistent level.
In an HDB flat, screeding is most often tied to bathroom and floor works. If you are doing extensive wet-area renovation, the screed is laid after waterproofing and over the membrane, and it is the layer the tiler then works on. For the full picture of how wet rooms are built up, see our guide to renovation cost in Singapore, which sets out where these trades sit in a typical sequence.
Screed thickness and falls
Thickness matters more than most homeowners realise. A bonded sand-cement screed is typically laid between about 25mm and 50mm thick. Too thin and it loses strength and is prone to cracking; too thick and it takes far longer to dry and can shrink unevenly. Where a thick build-up is unavoidable — for example to bury pipes or raise a step — the screed may need to be laid in layers or with added strength.
For wet areas, the screed is not laid dead flat. It is given a deliberate fall, usually a gentle gradient of around one to two percent, so water runs toward the floor trap. A bathroom floor that ponds water after a shower almost always has a screed that was laid without enough fall, or with a high spot near the drain. This is a defect worth checking before tiling begins, because correcting it afterwards means hacking the finished floor.
Drying time and the renovation schedule
Drying time is where renovation schedules quietly slip. A cement screed needs time to lose moisture before a finish is laid over it. As a rough rule, a sand-cement screed needs roughly one day per millimetre of thickness for the first 50mm under good conditions, and longer beyond that. A 40mm screed can therefore tie up a room for several weeks before it is genuinely ready.
This matters most under moisture-sensitive finishes. Timber and many vinyls trap moisture; lay them too early over a damp screed and you risk swelling, cupping, or adhesive failure. Tiles are more forgiving but can still suffer if the screed is too wet. A reputable contractor will allow for this in the programme rather than rushing a finish over a green screed to hit a move-in date. If your installer is pushing to tile a day after screeding, ask why.
Common screeding defects
The defects to watch for are consistent and avoidable. Hollow or drummy areas — where the screed has debonded from the slab — sound hollow when tapped and lead to cracked or loose tiles. Cracking in the screed often telegraphs through to the finish, especially with large-format tiles. Ponding in wet areas points to a fall problem. And a screed laid over a dirty or unprimed slab is far more likely to debond.
Good practice reduces all of these: a clean, sound slab, correct mix proportions, proper compaction, a defined fall in wet areas, and adequate drying time. Where a floor is unusually large, the contractor may need movement joints. None of this is exotic, but it requires a tradesperson who treats the screed as a real layer rather than an afterthought. If a screed is cracking badly or debonding across a whole room, it is worth getting an independent eye on it before you keep building over the problem; our structural engineering consultancy can advise where a defect is more than cosmetic.
Screed versus self-levelling compound
Homeowners often confuse traditional screed with self-levelling compound. They are not the same. A sand-cement screed is the workhorse layer that builds up thickness and sets falls. A self-levelling compound is a thinner, flowable product used to smooth out minor undulations — typically a few millimetres — before a thin finish like vinyl. Self-levelling compound is not a substitute for a proper screed where real thickness or falls are required.
For a tiled bathroom or a floor that needs raising, you want a screed. For a smooth, flat base under sheet vinyl in an otherwise level room, a self-levelling compound may be all that is needed. Using the wrong one — flowing a self-leveller where a thick screed is required — is a recipe for cracking and movement.
Frequently asked questions
How long does floor screeding take to dry before tiling?
As a rough guide, a sand-cement screed needs about one day per millimetre of thickness for the first 50mm under good drying conditions, so a 40mm screed can take several weeks before it is truly ready for moisture-sensitive finishes; tiles can sometimes go down sooner, but timber and vinyl need the screed properly dry.
How thick should floor screed be?
A bonded sand-cement screed is usually laid between about 25mm and 50mm thick; too thin and it cracks or loses strength, too thick and it dries slowly and shrinks unevenly, so thick build-ups are best laid in layers or with added strength.
Why is my bathroom floor ponding after screeding?
Ponding almost always means the screed was laid without enough fall toward the floor trap, or there is a high spot near the drain; it should be corrected before tiling, because fixing it after the finish is laid means hacking the floor.
What is the difference between screed and self-levelling compound?
A sand-cement screed builds up real thickness and sets falls in wet areas, while a self-levelling compound is a thin, flowable layer that smooths minor undulations of a few millimetres before a thin finish; one is not a substitute for the other.
Can a bad screed cause tiles to crack or lift?
Yes — a screed that has debonded from the slab, was laid too thin, or cracks will commonly cause tiles above it to sound hollow, crack, or lift, which is why a clean substrate, correct mix, and proper drying matter before any finish goes down.
Related reading
- Interior Designer vs Renovation Contractor
- A Renovation Checklist for Singapore Homes
- Balcony Renovation Ideas in Singapore
- Living Room Renovation in Singapore
Worried a screed or floor defect is more than skin-deep? Talk to our consultancy or get in touch for an accountable, senior opinion.


